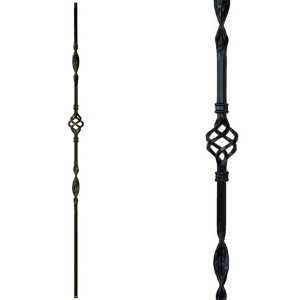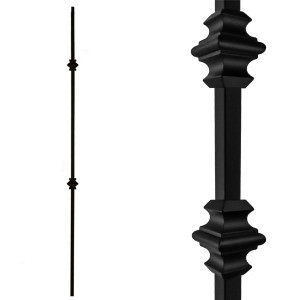


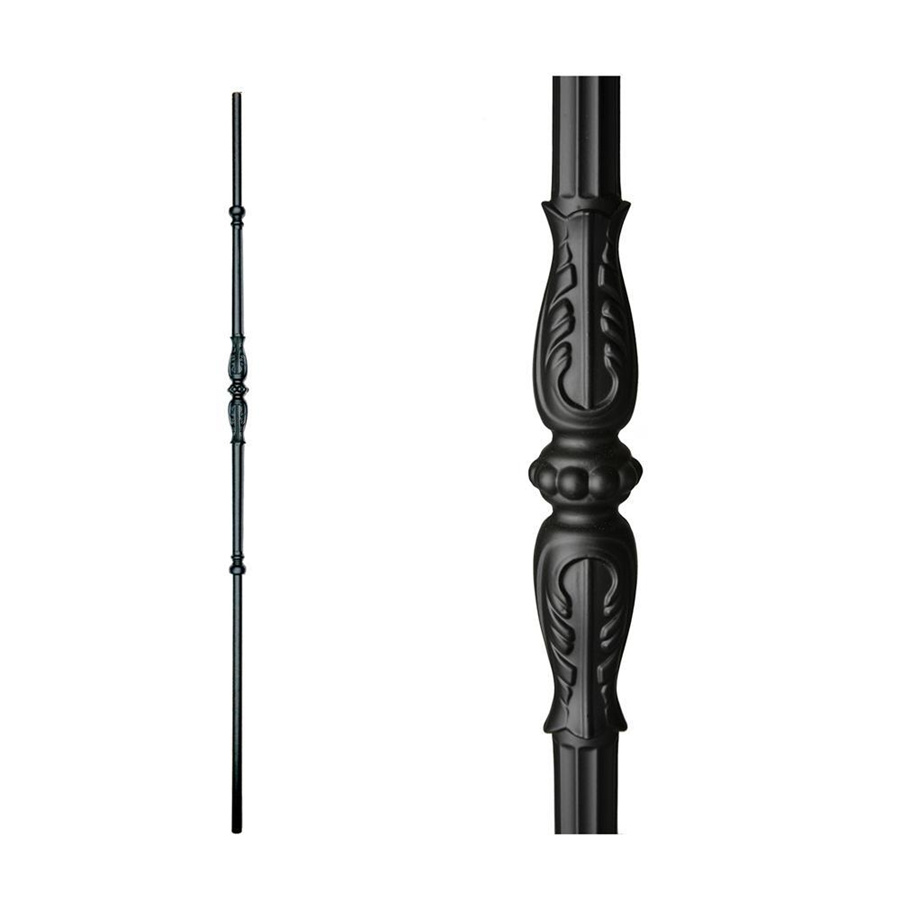

Monte Carlo Single Decorative Knuckle Wrought Iron Baluster/Spindles
To easy for installation, which is doweled top, and the balusters/Spindles can be cut to length by trimming bottom of the baluster/Spindle with metal cutting tool. And in view of the cost savings, ease of trimming and over all the ease of handing, most of buyer have made the switch to the hollow Balusters/Spindles instead of solid ones.
Friendly reminder, usually the iron balusters/Spindles must pass the 4 inches spacing rule, meant that a 4 inches sphere cannot pass through any portion of the balustrade/Spindle. Meanwhile, if you can’t find any products you are looking for, and need additional assistance or any question you have, then please do not hesitate to contact us via phone or e-mail us alan.chen@primewerks.com.cn , we are glad if anything we can do for you on stair products.
How to Install Iron Balusters (Or Spindles)?
Generally, there are 3~4 step will be needed and please let us give you a brief talk on process here:
Drilling Holes. Drill an appropriate size hole for the iron balusters/Spindles top and bottom. And if you don’t want to use shoes to hide leftover gaps with square balusters, you can use a mortising bit and punch out a square hole instead. Drill 1~1.5 inches deep up into the handrail. Drill 1/4~1/2 inch into the floor/Tread. (Depending on your best judgement as you should know the material you are installing into.)
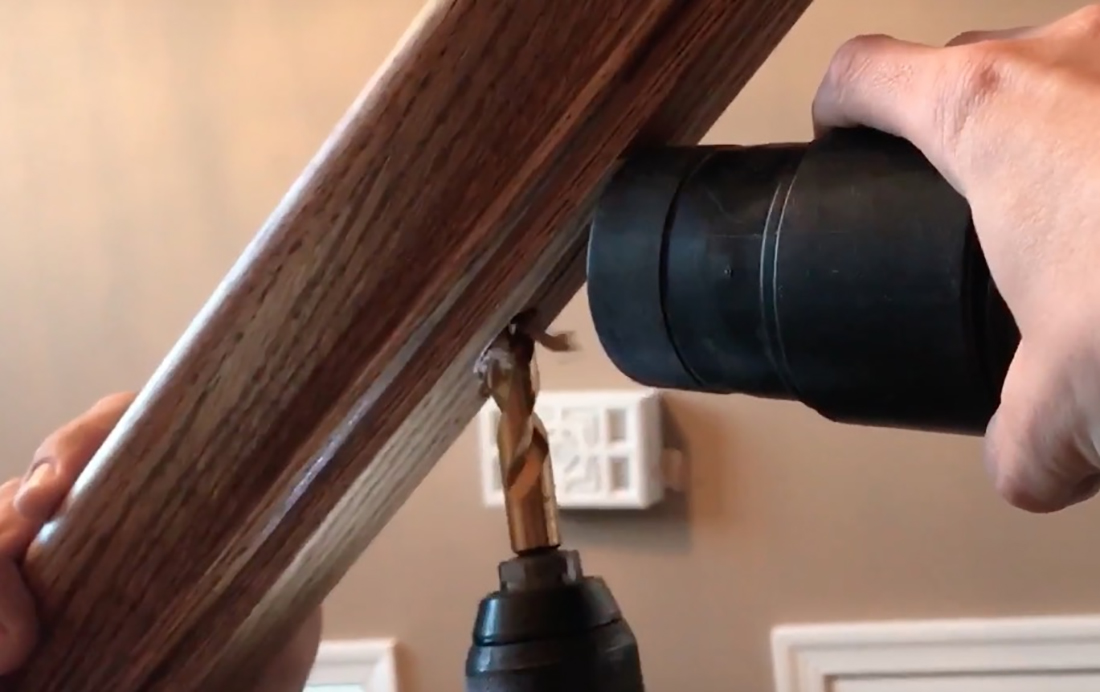
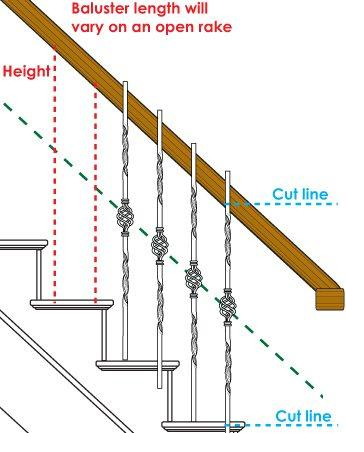
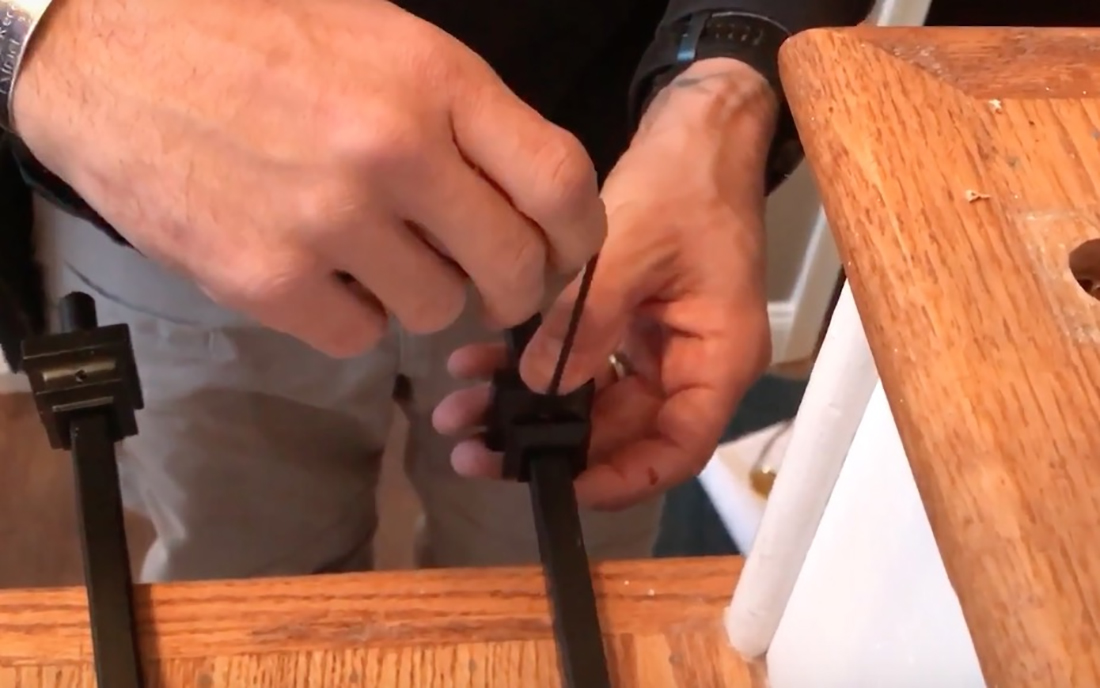
Cutting Iron Balusters to Size. Measure and cut your balusters 3/4 inch longer than the distance from the bottom of the handrail to the top of the base (floor/tread). Which gives you enough room to slide the baluster up into the rail and then drop it down into the hole. A Porta band saw or chop saw with metal cutting blade are the best methods to cut wrought iron balusters/spindles.

Depending on where you want your pattern to line up, you may cut all from one side or cut some from both sides.
Insert Iron Balusters. If we are using shoes, add them and insert the iron balusters into the holes. Slide your balusters into place. Make sure your pattern is correct and everything lines up.
Base Shoes. If using shoes, slide our shoes on now. Apply about a dime size drop of epoxy in the top and bottom holes. After the epoxy has dried, slide the shoes into place and epoxy them as well with just a bit dab. Alternatively if our shoes have set screws, we can tighten the screw at this point. Allow up to 24 hours for the epoxy to fully dry.
Basically we recommend always using epoxy for the shoes, as on some hammered products the shoe can appear to leave a larger gap on one side, while with epoxy you can evenly space the shoe around the bar.)